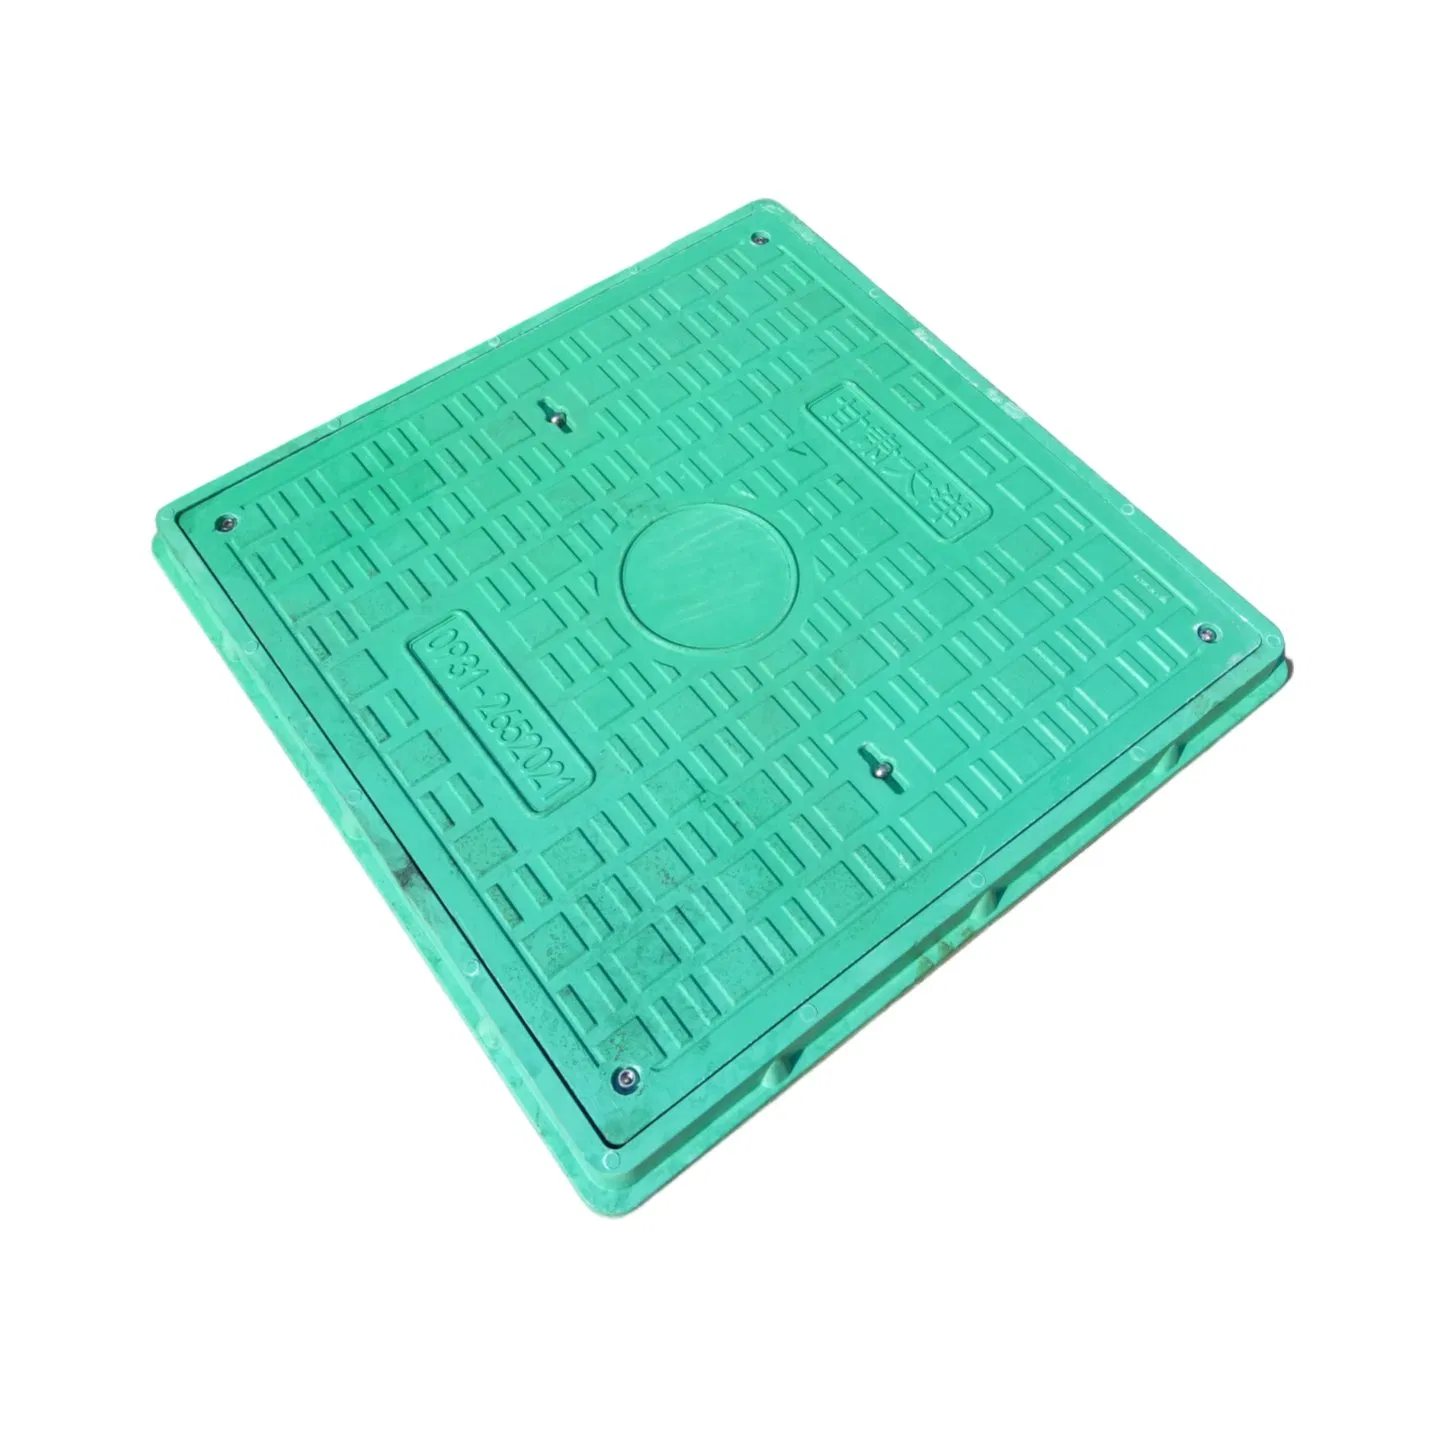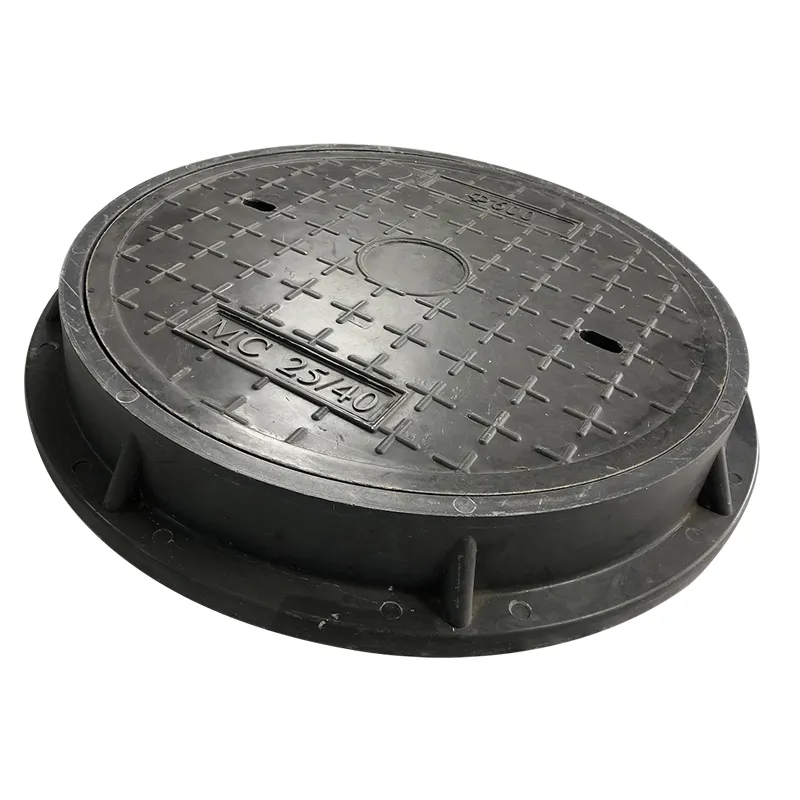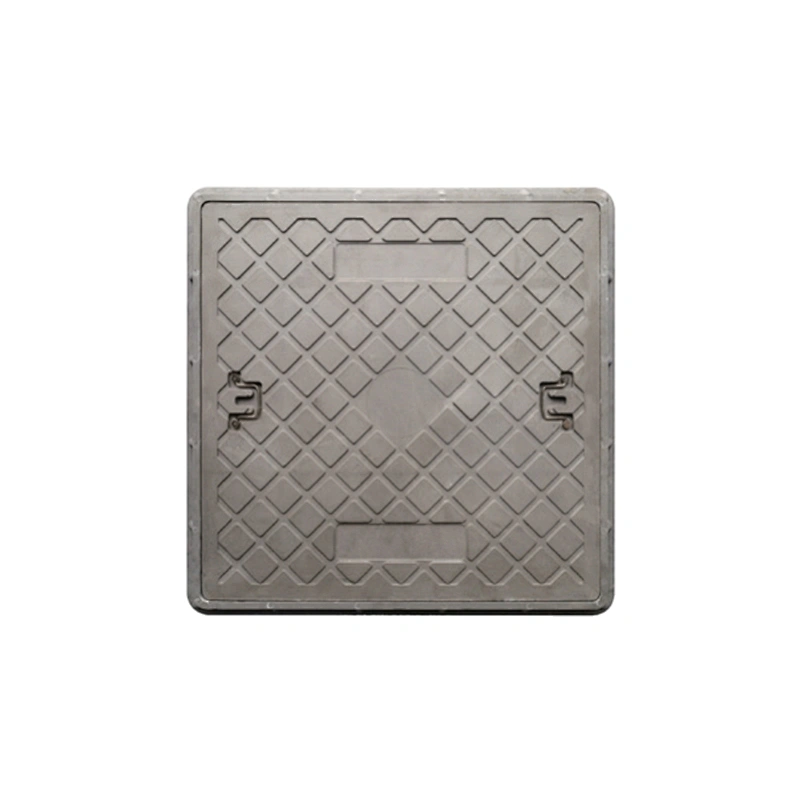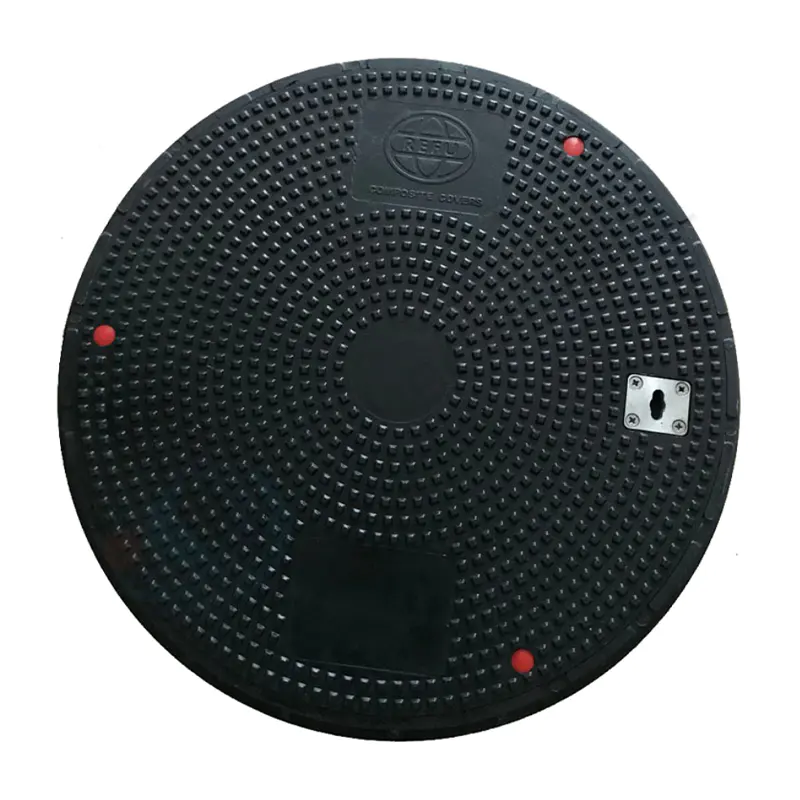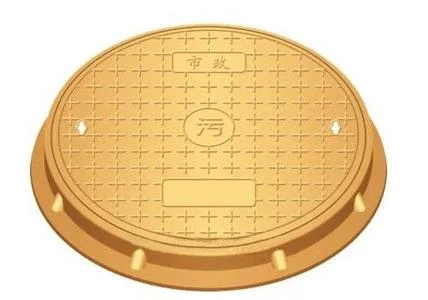
Introduction — Why Proper Composite Manhole Cover Installation Matters
Proper composite manhole cover installation is critical to ensuring long-term performance, safety, and compliance with traffic load standards. Unlike traditional cast iron covers, composite manhole covers are manufactured from fiber-reinforced polymer (FRP) or sheet molding compound (SMC), offering significant weight savings, corrosion resistance, and anti-theft properties. However, these material differences also mean that the installation process differs in several important ways.
This comprehensive guide walks through every stage — from pre-installation preparation and foundation work to frame positioning, cover seating, sealing, and curing. Whether you are a municipal engineer, a contractor, or a facility manager, following these steps will help you achieve a secure, level, and durable installation that meets EN124 or equivalent load classifications.
In this guide, we answer common questions such as: What tools are needed for installing composite manhole covers? Can I install one myself? Is the process different from cast iron? We also cover safety precautions, step-by-step procedures, and professional tips to avoid costly mistakes.
Pre-Installation Preparation: Tools, Safety, and Site Assessment
Required Tools and Materials
Before beginning the installation, gather the following tools and materials:
- Measuring tape and level — to ensure the frame sits perfectly flush with the finished pavement surface
- Angle grinder with masonry blade — for cutting the asphalt or concrete opening to the correct diameter
- Mortar mix or epoxy anchoring compound — for bedding the frame securely into the foundation
- Rubber mallet — for gently seating the composite cover without damaging the edges
- Torque wrench (if bolted) — for models that require bolt-down security fasteners
- Personal protective equipment (PPE) — safety glasses, gloves, steel-toe boots, and high-visibility vest
- Concrete vibrator or tamping rod — to eliminate air pockets in the bedding mortar
These tools are standard across most projects. For lightweight FRP covers rated for pedestrian or light traffic (EN124 A15/B125), the tooling is simpler than for heavy-duty D400 applications, which may require additional lifting equipment.
Safety Precautions Before Starting
Safety precautions must be observed at every stage of the installation. The work area should be cordoned off with traffic cones and warning signs. If the work is in a roadway, notify local traffic authorities and schedule during low-traffic hours. All personnel must wear appropriate PPE. When cutting existing pavement, use wet-cutting techniques to control dust. Never work in an excavation deeper than 1.2 meters without shoring or trench boxes. Always have a spotter when lifting covers — while composite covers are 60–70% lighter than cast iron, they still require careful handling to avoid back strain or dropping.
Site Assessment and Preparation
Inspect the chamber or manhole shaft to ensure the brickwork or precast concrete ring is structurally sound. The bearing surface where the frame will sit must be clean, free of debris, and reasonably level. If installing a composite drainage manhole cover in a drainage or sewer application, check that the ventilation and access requirements are met according to local drainage codes. Measure the clear opening diameter and confirm it matches the frame size specified for your composite cover.
Foundation and Frame Installation
The foundation preparation and frame installation are arguably the most critical stages of the composite manhole cover installation process. A poorly seated frame will cause the cover to rock, shift, or fail prematurely under traffic loads.
Step 1: Clean and Prepare the Bearing Surface
Remove any loose debris, old mortar, or protruding reinforcement bars from the manhole neck. The bearing area should be roughened slightly to help the bedding mortar bond. If the surface is smooth precast concrete, scarify it with a chipping hammer or wire brush. Wet the surface with clean water (but do not leave standing water) before applying bedding material.
Step 2: Mix and Apply Bedding Mortar
Use a high-strength, non-shrink grout or a proprietary bedding mortar rated for access cover installation. Mix according to the manufacturer specifications — typically a stiff, workable consistency that can support the frame without slumping. Apply a continuous bed of mortar around the entire circumference of the manhole opening, approximately 20–30 mm thick. The mortar bed must be uniform to prevent point loading on the frame.
Step 3: Position the Frame
Lower the composite frame (sometimes called the seating ring or frame insert) onto the mortar bed. Using a spirit level, check that the frame is perfectly horizontal in both axes. Adjust by gently tapping with a rubber mallet — never use a steel hammer, which could crack the composite material. The top of the frame should sit at the exact finished pavement height, accounting for the thickness of the asphalt or concrete overlay that will be applied later. When you install composite drainage manhole cover in a roadway, the frame should be 5–10 mm below the final road surface to allow for a smooth transition.
Step 4: Allow the Bedding to Set
Once the frame is aligned, allow the bedding mortar to cure for at least 24 hours (or as recommended by the mortar manufacturer) before applying any load. During this curing period, keep the area barricaded to prevent disturbance. Do not place the composite cover into the frame until the bedding has fully cured, as premature loading can shift the frame alignment.
Cover Seating and Sealing — Positioning the Composite Cover
With the frame securely bedded and cured, the next phase is placing the composite cover into the frame. This stage requires care to ensure the cover seats evenly and seals properly against the frame.
Step 5: Inspect the Frame Before Cover Placement
Before inserting the cover, inspect the frame seating surface for any mortar splatter, debris, or damage. Wipe the bearing surface clean with a cloth. Check that the frame has not shifted during curing by re-verifying with a spirit level. If adjustment is needed, the frame must be re-bedded — do not attempt to shim an already-cured frame.
Step 6: Place the Composite Cover
Composite covers are significantly lighter than cast iron — a typical 600x600 mm composite cover weighs approximately 20–25 kg compared to 50–60 kg for cast iron. Lower the cover straight into the frame, ensuring it is oriented correctly (many covers have an anti-slip pattern that should face the direction of traffic). Do not drop or slide the cover into place, as this can damage the sealing edge. Once seated, check that the cover sits flush with or slightly below (1–2 mm) the frame top. Rotate or rock the cover slightly to confirm there is no excessive play.
Step 7: Check Fit and Level
Use a straight edge across the cover and frame to verify that the cover does not protrude above the frame. A protruding cover will be struck by vehicle tires and may crack or dislodge. For pedestrian-rated installations, the cover should be perfectly flush with the surrounding surface. For traffic-rated installations, a 2–3 mm recess is acceptable to avoid direct tire impact on the cover edge. This is one of the most important steps — a poorly fitted cover creates noise, vibration, and premature wear.
Step 8: Secure Fasteners (If Applicable)
Some composite cover models include bolt-down or key-lock fastening systems. If your cover has bolts, tighten them to the torque specified by the manufacturer using a calibrated torque wrench. Over-tightening can crack the composite material around the bolt hole. For self-locking or quarter-turn locking mechanisms, verify that the lock engages fully and releases smoothly. The proper way to install a composite drainage cover with locking features is to test the lock mechanism three times before finalizing the installation.
Sealing Treatment and Curing Period
Sealing is essential to prevent water ingress, debris accumulation, and gas leakage (particularly in sewer or drainage applications). Proper sealing also extends the service life of both the composite cover and the frame by preventing corrosion of any embedded metal components.
Types of Sealing Methods
There are several approaches to sealing when installing a composite manhole cover:
- Compression gasket seals — Many composite covers come with a pre-fitted EPDM or neoprene gasket around the perimeter. When the cover is seated, the gasket compresses against the frame to create a water-tight seal. These gaskets are preferred for drainage and sanitation applications.
- Bituminous or mastic sealant — Applied to the frame rebate before cover placement. Suitable for roads and areas where a gas-tight seal is not required. The sealant remains flexible to accommodate thermal expansion.
- Epoxy grout fillet — Applied around the frame perimeter after the cover is installed. Creates a permanent seal between the frame and the surrounding pavement. Ideal for high-pressure wash-down environments.
Curing Period Guidelines
The curing timeline depends on the materials used during installation:
| Material | Minimum Cure Time | Full Load Capacity |
|---|---|---|
| Standard cementitious mortar | 24 hours | 7 days |
| Rapid-set anchoring mortar | 2–4 hours | 24 hours |
| Epoxy-based bedding compound | 6–12 hours | 24 hours |
| Polyurethane grout | 1–2 hours | 12 hours |
During the curing period, the area must remain barricaded. No traffic — pedestrian or vehicular — should be allowed on the installed cover until the full load capacity time has elapsed. Temperature and humidity affect curing times; in cold weather (below 5 °C) or high humidity, extend the cure time by at least 50%. For composite drainage manhole cover installations, always refer to the specific mortar or grout manufacturer data sheet for site-adjusted curing recommendations.
Composite vs Cast Iron Installation: Key Differences
A common question we receive is: Is installing a composite manhole cover different from installing cast iron? The answer is yes — and understanding these differences is essential for a successful outcome.
| Aspect | Composite Manhole Cover | Cast Iron Cover |
|---|---|---|
| Weight | Lightweight (60–70% lighter), easy to handle | Heavy, requires lifting equipment for large sizes |
| Handling | Can be installed by 1–2 workers without mechanical aids | Often requires 3+ workers or a hoist for covers > 600 mm |
| Bedding | Full perimeter mortar bed required; no point-loading | Partial bedding possible due to rigid structure |
| Sealing | EPDM gasket or flexible sealant recommended | Often uses greased metal-to-metal contact or cement grout |
| Frame Type | Composite or coated steel frame; lighter sections | Heavy cast iron frame with integral lugs |
| Corrosion Resistance | Inherently corrosion-resistant; no coating needed | Requires epoxy or bituminous coating; prone to rust |
| Noise | Quieter under traffic due to material damping | Can be noisy if not perfectly seated; clanking common |
| Anti-Theft | Low scrap value; theft-deterrent by nature | High scrap value; often requires locking devices |
Because composite covers are lighter, the overall installation process is faster and requires fewer personnel. However, the lighter weight also means the frame bedding must be more precise — composite covers rely on even support across the full circumference, whereas cast iron covers can tolerate some degree of point loading due to their inherent rigidity.
Another key distinction is thermal expansion. Composite materials have a higher coefficient of thermal expansion than cast iron. The installation procedure for drainage covers should account for this by ensuring adequate clearance (typically 2–3 mm) between the cover and frame to prevent binding in hot weather. This is especially important for dark-colored covers exposed to direct sunlight.
Common Installation Mistakes to Avoid
Even experienced contractors can make errors during composite manhole cover installation. Below are the most common mistakes and how to avoid them.
Mistake 1: Insufficient Mortar Bed Coverage
Applying mortar in patches rather than a continuous bed around the full circumference creates voids beneath the frame. Under traffic loading, these voids cause the frame to crack or the cover to rock. Solution: Always apply a continuous, uniform mortar bed. Use a notched trowel to ensure consistent thickness and coverage.
Mistake 2: Incorrect Frame Height
Setting the frame too high or too low relative to the finished pavement surface is one of the most frequent errors. A frame that sits too high will be struck by vehicle tires, while a frame set too low collects water and debris. Solution: Before bedding the frame, mark the finished pavement height on the manhole neck using a string line or laser level. Double-check the frame height after placement but before the mortar sets.
Mistake 3: Using the Wrong Bedding Material
Standard brick mortar or general-purpose cement is not suitable for composite frame bedding. These materials shrink as they cure, creating gaps under the frame. Solution: Use a non-shrink, high-strength grout specifically formulated for access cover installation.
Mistake 4: Overtightening Bolts
Composite materials are strong in compression but can crack under localized stress from over-tightened fasteners. Solution: Use a torque wrench and follow the manufacturer torque specification — typically 20–35 N·m for M10 bolts in composite covers.
Mistake 5: Ignoring Thermal Expansion
Installing the cover with zero clearance in cold weather can result in the cover jamming or buckling when temperatures rise. Solution: Leave 2–3 mm clearance between the cover and frame perimeter. Some manufacturers provide expansion gap indicators — use them.
Mistake 6: Rushing the Curing Period
Allowing traffic onto the installation before the bedding mortar has reached full strength causes frame displacement, cover misalignment, and seal failure. Solution: Follow the curing table in the Sealing Treatment section above. In cold weather, extend the cure time. Barricade the area and use warning signs.
Avoiding these common mistakes will save time, money, and rework. If you are wondering whether you can install a composite manhole cover yourself — while it is possible for DIYers on private property for pedestrian-rated covers (EN124 A15), for traffic-rated installations we strongly recommend hiring a certified contractor. Professional installation ensures the cover meets load rating requirements and safety standards.
Professional Installation Tips and Best Practices
Drawing from years of field experience, here are professional recommendations to ensure your project meets the highest standards of quality and durability.
Tip 1: Always Use a Keyed or Locking Cover in Public Areas
For installations in public roads, sidewalks, or parking lots, choose composite covers with integrated locking mechanisms. While composite covers have low scrap value and are less likely to be stolen than cast iron, locking covers provide additional security and prevent unauthorized access to the chamber below. Ensure the key or tool is handed over to the facility maintenance team after installation.
Tip 2: Account for Pavement Overlay Thickness
If the road is scheduled for resurfacing in the future, install the frame at a depth that accommodates the planned overlay. Many municipalities now require "adjustable" or "height-adjustable" frames for composite manhole covers to allow for future pavement level changes without breaking out the bedding. Check with your composite cover supplier whether an adjustable frame option is available for your model.
Tip 3: Perform a Post-Installation Load Test
For D400 or higher load-rated installations, conduct a static load test 72 hours after installation. Place a known load (e.g., a loaded truck axle) over the cover and measure deflection. The deflection should not exceed manufacturer limits — typically 5 mm for D400-rated covers. Document the test results for the project quality records.
Tip 4: Use Gasket-Equipped Covers for Drainage Applications
When you install composite drainage manhole cover systems, always specify covers with integrated EPDM gaskets. These provide a water-tight seal that prevents groundwater infiltration and keeps odors contained. For wastewater applications, ensure the gasket material is rated for hydrogen sulfide (H2S) resistance, as standard EPDM can degrade in high-H2S environments.
Tip 5: Document with Photos and Notes
Take photographs at each stage of the process — before work begins, during frame bedding, after cover placement, and at the final completed installation. This documentation is invaluable for warranty claims, future maintenance planning, and quality assurance audits. Many customers also request a time-lapse video as part of their project records.
Tip 6: Source from ISO-Certified Manufacturers
The quality of the composite cover itself directly affects installation ease and long-term performance. Source covers from ISO 9001-certified manufacturers who provide clear installation documentation with each product. Reputable suppliers also offer technical support during installation and will advise on the correct bedding material, torque settings, and curing schedule for your specific climate conditions.
Conclusion — Ensuring a Durable and Safe Installation
Following this step-by-step guide ensures a safe, durable, and code-compliant installation that will perform reliably for decades. The key takeaways are:
- Proper site preparation and the correct bedding materials are the foundation of a successful installation
- Composite covers require a full-perimeter mortar bed with precise frame leveling — unlike cast iron, they cannot tolerate point loading
- Sealing and curing times must be respected to prevent water ingress and structural failure
- Understanding the differences from cast iron installation helps avoid common mistakes such as incorrect frame height or over-tightened bolts
- For traffic-rated installations, professional installation is strongly recommended over DIY approaches
We hope this guide has answered your questions about the process, tools, safety precautions, and best practices. For a visual walkthrough, many manufacturers provide video guides or downloadable installation instructions on their websites.
If you require detailed specifications, load ratings, or installation support for your next project, our team of engineers is available to provide technical guidance. We also offer customized composite manhole covers tailored to your specific frame dimensions, load class, and sealing requirements. Contact us today to discuss your project needs or browse our product range for ready-to-install solutions.